Showing posts with label Cooking&Baking: Cookie Recipes. Show all posts

Wednesday, October 15, 2014

Soft and Chewy Chocolate Chip Cookies (Recipe)

These cookies in my opinion taste a bit like Subway cookies, soft and slightly chewy. I do prefer the chewy type of cookie, but I think I prefer one that is slightly crunchy on the outside and soft in the middle.

But these cookies are incredibly easy to make and would probably be great as an ice cream sandwich! I used a recipe from my Martha Stewart's Cookies book and only had to tweak the amount of salt put in the batter. The original recipe mentions 1 tspn of coarse salt, but this is too salty for my taste...though I'm not sure if it's because I had used fine salt rather than coarse salt hence it became overly salty. Anyway next time I make it I will just use 1/2 tspn of salt instead. Hmm...I also just had a realisation that I may have used salted butter, so maybe hence the noticeable salty taste...oops.

On a side note, this is a pretty great book for your baking collection. Worth the buy.
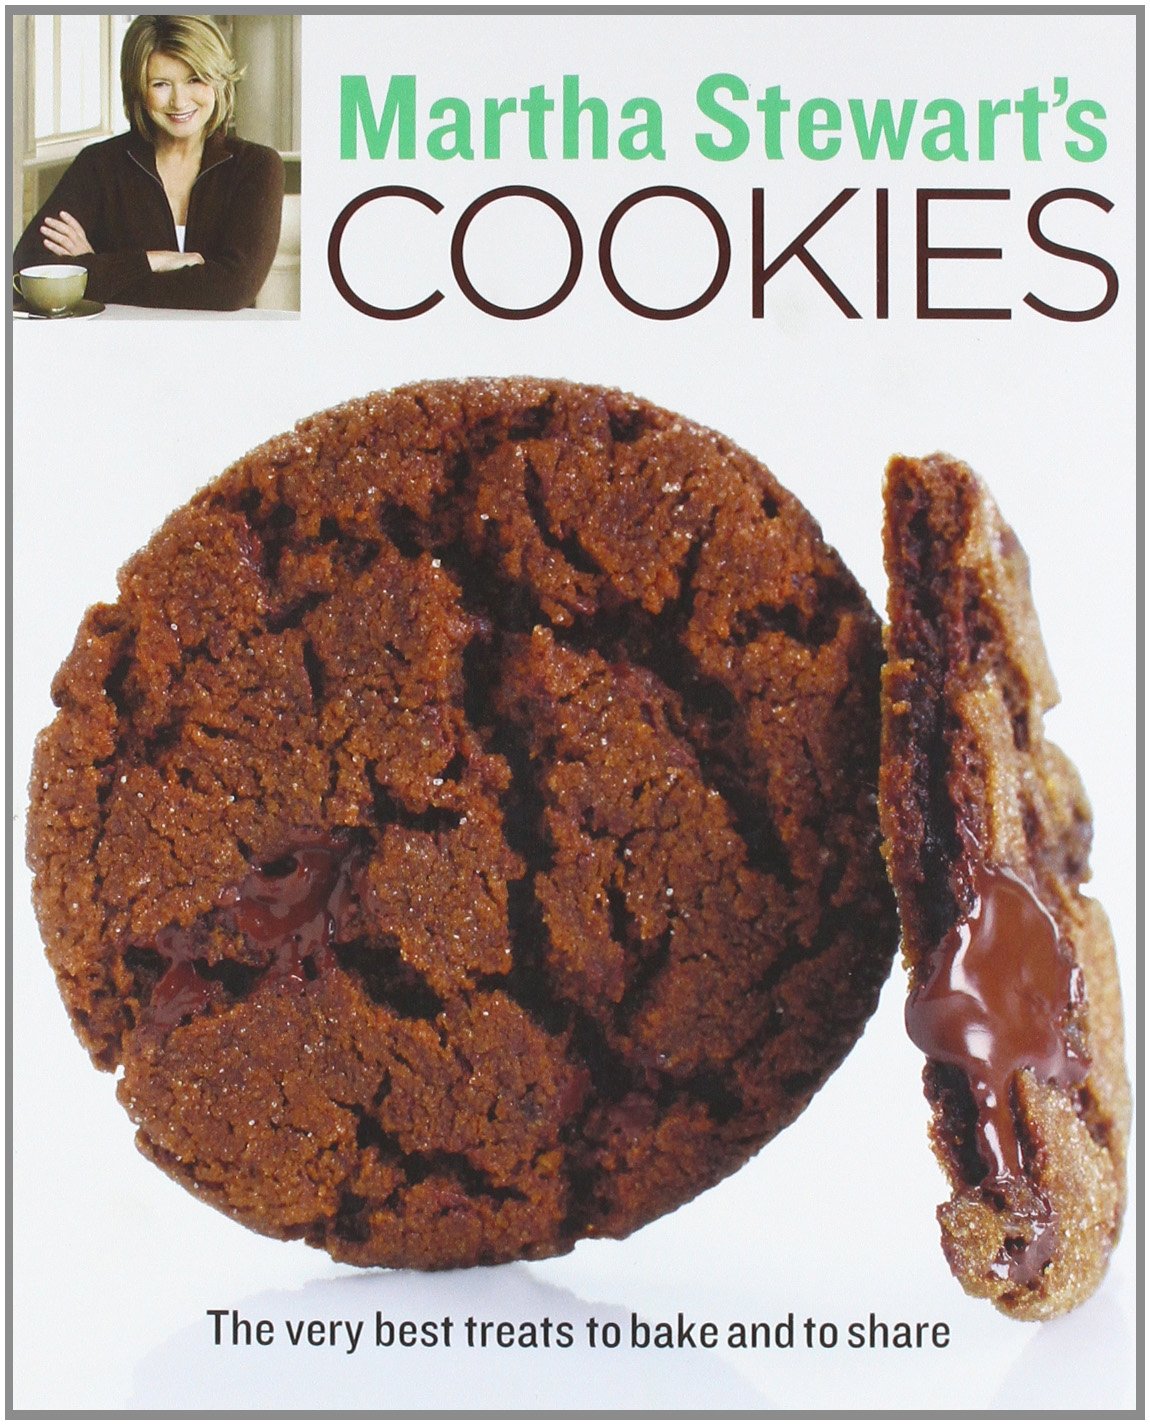
Lots of pretty cookies in the book, pun not intended :p Nobody wants to see her 'cookies' do they?! LOL!

2 1/4 cups plain flour
1/2 tsp baking soda
1 cup unsalted butter, room temperature (tip: if you are making cookies on the spur of the moment and your butter is rock hard from the fridge, just stick it in a bowl in the microwave for 15seconds on high. You don't want it to totally melt, but just soften).
1/2 cup granulated sugar (I think more specifically this should be fine grain sugar too, like caster sugar. Because I tried using raw sugar to top up my brown sugar since I had run out and the result was I could taste the raw sugar and was annoyed at the extra crunch of the sugar in my cookie)
1 cup light brown sugar
1/2 tspn coarse salt
2 tsp vanilla extract
2 large eggs
2 cups chocolate chips (2 cups to me seemed quite a lot, so go with your preference, I think 1.5 cups is plenty)

Preheat oven to 175C. Whisk together flour and baking soda in a bowl.
Put butter and sugars in a bowl and use an electric mixer to mix until pale and fluffy, about 2 minutes.
Reduce speed to low, add salt, vanilla and eggs. Then once blended, mix in flour mixture. I'm assuming they had meant use the mixer, but because my electric handheld mixer only comes with a whisking attachment, not a paddle attachment, it was very hard to mix the dry and wet mixture together. Might be easier to use a spatula or something. Then stir in the chocolate chips.
Once it's all mixed in, line a baking pan with baking paper and drop spoonfuls of the mixture onto it. They do spread quite a bit, so either don't heap too much batter or make sure there's adequate space between cookies. I love the size of subway cookies and that was what I was aiming for.

Bake the cookies for 10-12 minutes, depending on the thickness of your cookies. Thicker and bigger cookies need longer baking time. Keep an eye on the cookies, they do cook and brown quite fast. You can rotate them halfway and if you have multiple pans cooking at the same time, you can rotate them, top to bottom.

The first pan I made was nice and flat, I heaped one ice cream scoop size onto the tray and they really expanded. My 30x40cm tray only fit 9 of them.Hubby said these were too soft. He preferred the ones below that I cooked a bit longer and was firmer. 

How do they look so even you might ask? Well I baked them on my Wilton whoopie pie pan. First time using them and I didn't know how much to fill them, and looks like I overfilled them a little. They rose quite high so was a bit thick...like a whoopie pie you might say :p I cooked these for 12mins at first, but they were still too soft, so after I took them out of the pan I put them on my other baking tray and cooked them for a further 2 mins, so in total I guess about 14mins.

This is the big flat ones, see how soft they are, when you hold it with one hand, it's literally flexible. But still delish to eat :)

Tuesday, January 28, 2014

Nastar or Pineapple Tarts

This is a recipe that's been handed down from my Mum and when I make it, it makes me think about her :) If you've never made Pineapple Tarts before, don't be afraid, it's actually easier than you think!


Ingredients:
400g butter, unsalted
120g caster sugar
1 egg yolk
1 tspn Vanilla Extract
500g flour
100g cornflour
1 tspn salt (omit if you used salted butter)
75g Milk Powder

Eggwash, Egg yolk + milk

  1. Preheat oven at 150C and line a baking tray with baking paper. 
  2. Mix the butter and sugar with an electric mixer until white. 
  3. Add the egg yolk and vanilla extract and beat until incorporated.
  4. Sift the flour, corn flour, powder milk and salt. 
  5. Add the dry ingredients to the butter mixture and mix by hand until it forms a nice soft dough. Do not mix too long.
  6. Get a bit of dough, flatten it and place a piece of pineapple jam in the middle and form into round balls.
  7. Cook the tarts for 15 minutes. After 15 minutes, take it out and glaze with egg wash using a pastry brush. Return to the oven and cook until golden. 
To make the Pineapple filling or Jam you can either use freshly grated pineapple or canned pineapple drained of its juices. Cook in a pan until it's dry and add the desired amount of sugar. Then leave aside to cool and form into little balls and put aside until it's ready. You can make this a day before and keep it in the fridge. 

Sometimes you may have left over dough but have no filling left. In Indonesia it's common to make a cheese tart, whereby you mix grated cheese into the dough, then cook for 15minutes and then glaze with egg wash and sprinkle with some more grated cheese. 


Friday, November 15, 2013

Macaron fillings, what we like and don't like.

We all know that Macarons are sweet, too sweet sometimes, what I don't understand is why do they put a sweet filling into what's already a really sweet cookie! I even did the white chocolate ganache with added salt as it's a common filling, but argh it was just really really sweet.

Perhaps I say this because I don't have a sweet tooth, but I would much prefer a tangy or not sweet filling. So after testing out a few fillings, I finally realised which one my family prefers. 

Cream cheese it turns out is one of the best filling and is the most preferred by my darling daughter. It makes you feel like you're eating a mini cheesecake as the cookie is just like the cheesecake crumb base! I use it straight from the tub, no sugar added, so it's not a cream cheese frosting, just cream cheese straight up! 80% less fat baby!

Lemon Meringue marshmallows. This I discovered at a recent trip to the supermarket, it's so tangy and lemony, works great with the sweet macarons, just like you're eating a lemon meringue pie! I microwaved a few marshmallows to make it spreadable and voila, instant filling! And marshmallows are also Fat Free!

This is the white chocolate ganache (tinted pink).....one bite and I felt like my teeth were gonna fall off...

On a side note, how cute is this? I had some cupcake containers left over and realised I could pack macarons in this to give to friends! One container can fit 3 macarons, just nice. 

As important as the filling is, the macaron recipe is just as important. I tried this recipe: 
Though this recipe is super easy and gave perfect macarons, see here, it was just TOO sweet. I couldn't taste the almonds, so it just tasted like a sweet meringue, rather than a cookie. But I was really thrilled that these gave really great feet.


I found that the recipe from Bravetart is so far the best tasting and this will be my go to recipe from now on. The 'feet' weren't as big as the one from above, but oh well, maybe it'll get better with more experimentation. You can find her recipe here: http://bravetart.com/recipes/Macarons

Sunday, October 13, 2013

Second Attempt at Making French Macarons - SUCCESS!!

Since my last attempt at making macarons, I kept on thinking about trying my hands at them again. I trawled youtube and came across this video: http://www.youtube.com/watch?v=oQbpeP-heEQ and thought the recipe seemed pretty straightforward and I liked the smaller recipe proportions. So if it didn't work out at least I wouldn't have wasted too much of my ingredients.

This time I ditched my silicone mat and went for baking paper as many sites had suggested is the best liner for making macarons. The last time I had also over mixed my batter, I couldn't control the flow of the batter when I tried to pipe it out. So this time I was very cautious and checked on the consistency of my 'lava' to make sure that it wouldn't be over mixed. And they worked!! I was over the moon and did a happy dance in my kitchen when I saw the macarons rising and showing their little 'feet'! I just couldn't stop smiling :)

After they were piped out, I let them stand for about half an hour to dry out. I was convinced they would never dry out in Singapore's humid weather. But to my surprise they did! And they dried out faster than I had expected, I thought I would've had to wait at least an hour. Some sites like Bravetart say it's not necessary to do this, but I think it wouldn't hurt to do it, seeing as it worked. 
This recipe only calls for a baking time of 12 minutes.

Well hello there "feet"!!

I don't know if you can see, but the macaron bases are a bit brown. I'm not sure if it was because they were cooked too long or it was my black baking pan? 


My Babies were beautiful!
Previously I had used Bravetart's recipe, which seems to be less sweet and you could taste the almond a bit more. I'm going to try it again and see if it gives the same results.

Monday, September 16, 2013

Macarons - First Attempt

I've always wanted to try making Macarons and even have a couple of books at home on the subject, but have put off making it because it seemed so complex, with ageing egg whites, and the mysterious risings of the "feets" .

I stumbled across this website: http://bravetart.com/recipes/Macarons which made it seemseasy enough to make Macarons. No need to age the eggs, no need to let the shells air dry. So since today I had some free time, I gave it a go.

Well unfortunately they didn't turn out the way they should, and after doing up more reading I realise I made a mistake here and there. Firstly I think I overmixed the batter because it was oozing out of the tip, so it was definitely too runny. Secondly I didn't realise I should've used a stainless steel mixing bowl to mix the egg the whites, not sure if this makes much difference, but other sites say don't use plastic bowl which is what I used. Thirdly, I used silicone mats instead of Parchment Paper. I really had no idea that it would make a difference, but they say the silicone mats make it too sticky and will leave you with an empty shell...true enough this is what happened to mine. I had two different mats, one worked well and the other did not....so what does that mean??

Before mixing in the dry ingredients

After piping them and after they were out of the oven, they looked amazing....but they were empty shells.....

This one was baked on a different mat and had little feet on them and was cooked beautifully inside.


these were various shapes, like flowers, mickey head and hello kitty head


These are the empty half shells....
Oh well they tasted really good, DH and DD both said they were really yummy and ate a handful. I couldn't even believe my DD ate so many considering she's not that into sweet stuff! So once this batch has all been eaten (some will be eaten in ice cream/gelato/sorbet), I'll try making it again.
The texture is just like a store bought Macaron

These were the hello kitty ones....doesn't look like it eh?


Empty shells, still pretty good after filled.